World Nature Conservation Day: How Your Grow Bag Garden Helps the Planet
On July 28, World Nature Conservation Day reminds us that protecting forests, water, and biodiversity is everyone’s responsibility. But here’s the thing: if you’re growing bhindi, karela, and palak in grow bags on your terrace, you’re already doing conservation. This article explains why your balcony garden matters, and how to make it matter even more.
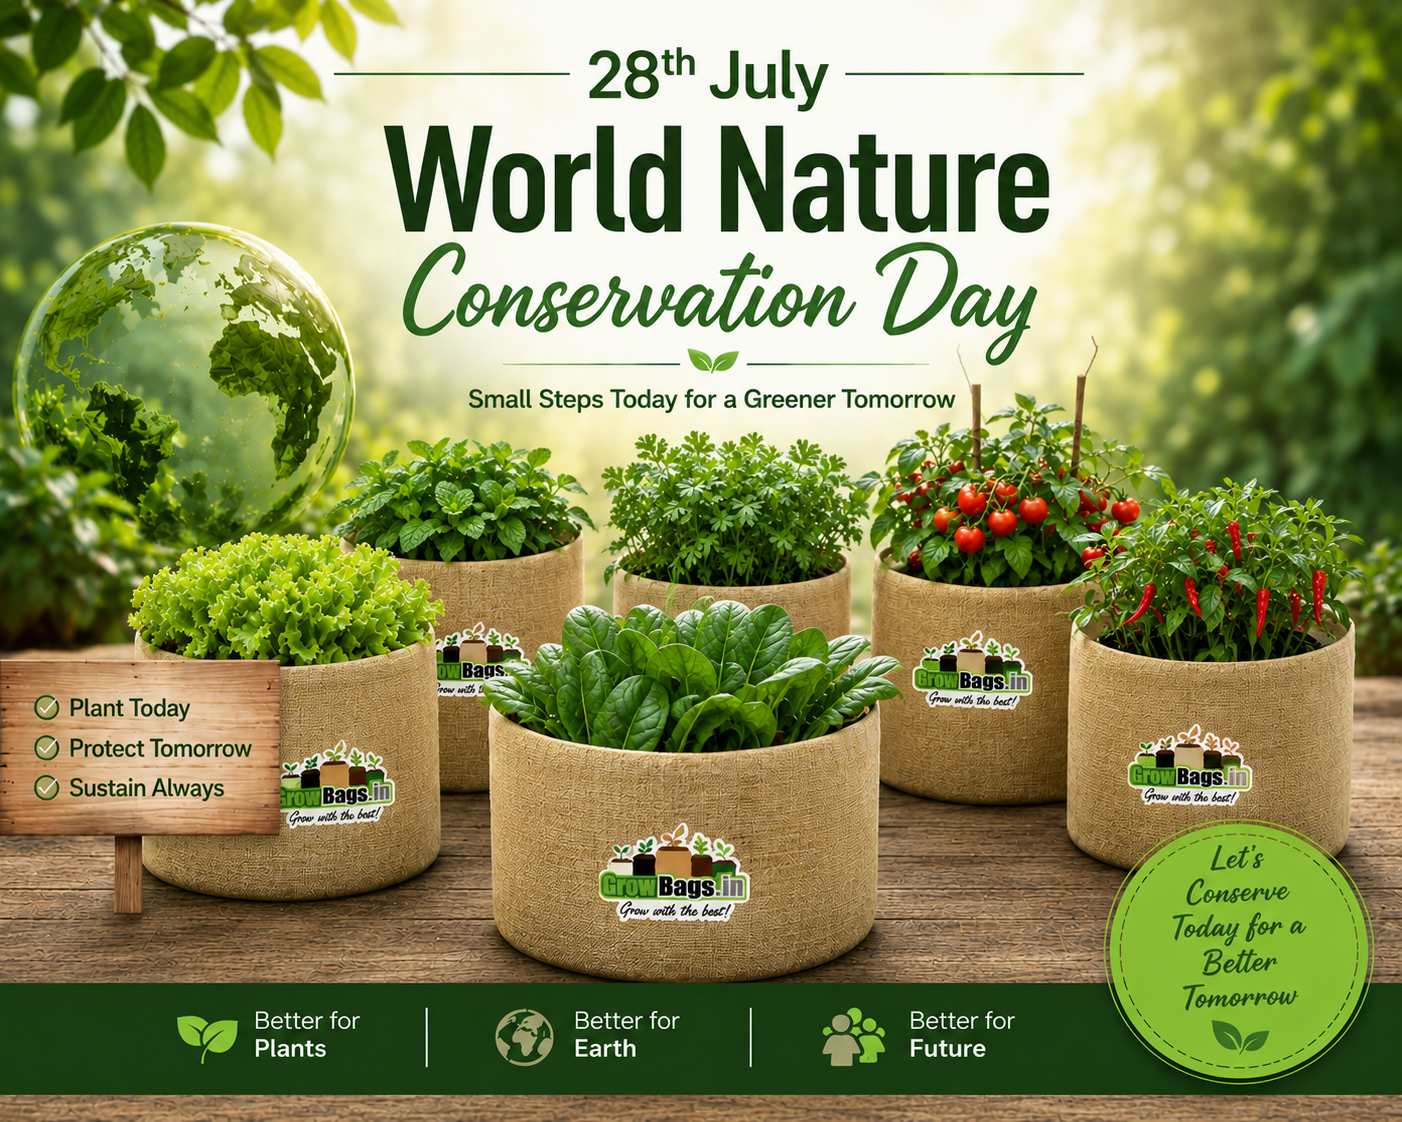
What is World Nature Conservation Day?
World Nature Conservation Day, observed on 28 July each year, reminds us why protecting forests, water, soil, and wildlife is important. For India, where monsoons shape agriculture, groundwater is depleting, and urban sprawl is replacing farmland, conservation feels especially pressing. The day encourages us to think about how our daily choices affect nature: what we eat, how much water we use, and where our food comes from.
From the forests that store carbon and support biodiversity, to the water systems we depend on, to the soil we grow food in, nature conservation touches everything. In India, these challenges are urgent and personal. Nature conservation isn’t separate from daily life; it’s woven through all of it.
How Grow Bags Support Conservation
1. Efficient Use of Space & Water
Growing in grow bags means you water only where plants need it, the root zone, instead of watering an entire garden bed and watching water run off unused. On a small Mumbai balcony, a row of 15×15 grow bags can produce steady harvests of bhindi, brinjal, and leafy greens without the water demand of a larger open plot.
During monsoon, when rain is abundant, your bags drain efficiently so water isn’t wasted as stagnant soil. In summer, when water is scarce, you save thousands of litres by watering only the root zone. Many home gardeners find that grow bags use noticeably less water than open beds because watering is targeted and runoff is minimal.
This efficiency isn’t just good for your water bill. It’s good for your city’s groundwater table and for regions facing drought.
2. Soil Health & Biodiversity
When you fill a grow bag with a mix of cocopeat, vermicompost, and sand, you’re creating a living soil, one that teems with earthworms, microbes, and insects. Unlike chemical-heavy potting mixes, this soil supports a healthy microbiome. Meanwhile, the diversity of crops you’re growing (palak, methi, herbs, chillies in the same terrace) creates a mini-ecosystem that attracts bees and beneficial insects.
If you skip chemical pesticides, a common choice for home gardeners, your soil stays even healthier. Home compost in your soil means recycled kitchen waste and reduced landfill. Your grow bag doesn’t disturb natural topsoil or cause erosion the way tilling large plots does.
Your balcony garden isn’t just producing food. It’s supporting the tiny organisms that keep soil, and the planet, alive.
3. Reduced Food Miles & Emissions
A kilogram of bhindi bought at a supermarket has traveled 500+ kilometers, been stored in cold rooms, wrapped in plastic, and required fuel and emissions at every step. A kilogram of bhindi grown in your 15×15 grow bag travels from plant to kitchen in minutes.
Over a monsoon season, this difference compounds: you’re avoiding unnecessary transport, packaging, and emissions that would otherwise accumulate in the supply chain. Growing seasonally, monsoon vegetables in monsoon, aligns your garden with natural rhythms and reduces pressure on commercial farms that rely on heavy inputs.
It’s one of the simplest ways to reduce the environmental impact of your food, and you get fresh vegetables for dinner.
4. Durable Grow Bags vs. Disposable Plastics
A disposable plastic pot lasts one season before degrading. A quality HDPE grow bag lasts 3–5 seasons, meaning fewer pots in landfills and fewer new resources needed. Fabric bags are similarly durable and breathable, they’re designed to last many seasons, reducing the need for frequent replacement.
When your bag finally reaches end-of-life, it can be disposed of responsibly or recycled where available. Over decades, durability is conservation: fewer resources, less waste. Every time you reuse your grow bag for another season, you’re making a conservation choice.
Practical Conservation Steps for Your Monsoon Garden
Save Water in Your Grow Bag Garden
- Use the finger-test method: Only water when soil is dry 2+ inches down. This prevents overwatering and runoff.
- Mulch your soil surface: 1 inch of dried leaves or straw significantly reduces evaporation, so you water less often.
- Collect monsoon runoff: If possible, position bags to catch and use rainwater for future dry spells (simple water harvesting).
- Use drip irrigation: If you water multiple bags, use drip setups instead of overhead spraying, water reaches roots, not air.
- Water early or late: Water early morning (5–7 AM) or late evening (6–8 PM) to reduce evaporation loss.
- Empty saucers immediately: Don’t let water sit under bags, as it encourages root rot and wastes water.
Choose Eco-Friendly Soil & Inputs
- Make your own compost: Use kitchen scraps (vegetable peels, leaves) to make vermicompost or aerobic compost. This recycles waste and gives you chemical-free nutrients.
- Avoid synthetic fertilisers: Use compost, vermicompost, seaweed extract, or neem-based organic options instead. They feed the soil and the plant.
- Use neem oil & organic pest controls: Instead of chemical pesticides, spray neem oil or use companion planting (basil with tomatoes, etc.). Safer for you, your soil, and pollinators.
- Reuse soil carefully: After harvest, refresh your grow-bag soil with fresh compost for 3–4 seasons.
Important: If soil had root rot or severe disease, discard it or use only for non-edible ornamentals. Never reuse it for edible crops. - Choose sustainable materials: Use cocopeat (byproduct of coconut processing) and perlite (recyclable) instead of peat moss, which damages peatlands.
- Mulch with organics: Use dried grass, leaves, or wood chips, all biodegradable and they improve soil as they break down.
Make Your Monsoon Garden Conservation-Friendly
- Prevent waterlogging: Use the high-drainage monsoon soil mix (40% perlite/sand) to ensure water drains quickly. Healthy drainage keeps soil alive and prevents root rot.
- Elevate bags properly: Place bags on stands, bricks, or gravel so monsoon rain drains through. Never let bags sit directly in pooled rainwater.
- Rotate crops with seasons: Grow monsoon vegetables (bhindi, karela, lauki, palak, brinjal, turai) during July–September. This aligns your garden with natural growing seasons.
- Save seeds: If you have space, let one or two plants flower and seed. Free seeds for next monsoon and preserved local crop varieties.
- Skip chemicals in monsoon: Heavy rain washes chemical pesticides and fertilisers into stormwater drains. Use organic methods exclusively during rains.
- Create water-absorption zones: Position bags to absorb and slow monsoon runoff instead of rushing it off your terrace. This reduces neighbourhood flooding and conserves water.
Plant for Biodiversity
- Grow diverse crops: Instead of 5 bags of tomato, plant tomato, bhindi, chillies, palak, herbs, and flowers. Diversity attracts bees, butterflies, and insects.
- Include herbs & flowers: Basil, coriander, mint, marigold, and nasturtium attract pollinators and repel pests. Bonus: you eat the herbs.
- Avoid monoculture: Growing the same crop season after season depletes soil and attracts pests. Rotate crops yearly.
- Skip pesticides: Let natural pest control work. Aphids attract ladybugs. Caterpillars attract birds. Your garden becomes a living ecosystem.
- Provide water: A small bowl of water helps bees, butterflies, and insects drink during hot season.
- Use companion planting: Grow basil near tomatoes, coriander near beans, marigold near everything. These combinations improve soil, repel pests, and support biodiversity.
Your monsoon terrace garden is alive, with bees pollinating flowers, earthworms building soil, and insects controlling pests naturally.
Involve Your Kids: Nature Conservation Starts at Home
Growing vegetables with children transforms a balcony into a nature classroom. A 6-year-old learns responsibility watering the bhindi plant daily. A 10-year-old discovers why composting kitchen scraps matters. A teenager tracks seasonal patterns and plant rotations, real science, real impact.
When kids see insects pollinating their flowers and earthworms in their soil, they develop respect for biodiversity. Your grow-bag garden isn’t just producing food; it’s raising children who understand that conservation starts at home.
Small Gardens, Big Impact
World Nature Conservation Day is a reminder that big change starts small, with your terrace, your grow bags, your choices. You’re already saving water, building soil health, supporting biodiversity, and reducing food-transport emissions just by growing your own food.
This monsoon season, lean into it. Use the practical conservation steps above to make your garden even more impactful. Start composting your kitchen waste. Grow diverse crops instead of monoculture. Elevate your bags properly. Skip the chemicals. Watch your garden become a thriving ecosystem.
Ready to Deepen Your Conservation Impact?
GrowBags.in supports home gardeners who want to save water, build healthy soil, and grow more of their own food. We provide durable, reusable HDPE and fabric grow bags designed to last multiple seasons, monsoon-ready soil mixes, and free growing guides for common Indian vegetables (bhindi, karela, lauki, palak, brinjal).
Browse our collection:
- Grow Bags: Premium HDPE and fabric options in multiple sizes (12×12, 12×15, 15×15, 18×18, 24×18)
- Monsoon Gardening Guide: Step-by-step tips for drainage, watering, and crop rotation during rains
- Soil Mix Page: Monsoon-ready potting mixes and individual soil amendments (cocopeat, compost, perlite)
Let’s grow a more sustainable India, one terrace at a time. 🌿
Happy gardening, and happy World Nature Conservation Day!
– The GrowBags.in Team
How to Grow Lauki & Karela in Grow Bags During Monsoon: Complete Terrace Garden Guide
Growing bottle gourd (lauki) and bitter gourd (karela) during the monsoon season can be incredibly rewarding, but only if you know how to work with the rain, not against it. These vining plants are heavy feeders that love moisture, but excessive waterlogging can quickly destroy your crop. This comprehensive guide covers everything you need to successfully grow lauki and karela in grow bags on your terrace during India’s rainy season, from choosing the right grow bag size to mastering hand-pollination techniques.
Why Monsoon is Prime Growing Season for Lauki & Karela
The monsoon months (June to September) are actually ideal for growing bottle gourd and bitter gourd. These plants thrive in warm, humid conditions with consistent moisture, exactly what the monsoon provides. However, this same abundance of rain can lead to root rot, fungal diseases, and poor pollination if you’re not careful.
The key is creating the right balance: providing excellent drainage while ensuring your plants get the moisture they need, and actively managing pollination since heavy rains can wash away natural pollinators like bees.
Choosing the Right Grow Bag Size for Lauki & Karela
Size Matters for Root Development
Bottle gourd and bitter gourd are vigorous vining plants with deep, extensive root systems. Unlike compact herbs or shorter vegetables, these plants demand substantial space to develop strong root networks that can support heavy fruit production.
Recommended Grow Bag Sizes:
For Bottle Gourd (Lauki):
- Minimum size: 20-liter HDPE grow bag [12″ × 12″] (ideal for compact terrace spaces)
- Optimal size: 30-40 liter HDPE grow bag [15″ × 15″ to 18″ × 18″] (best for maximum yield)
- Professional choice: 50-liter grow bag [24″ × 18″] for heavy-producing varieties
For Bitter Gourd (Karela):
- Minimum size: 15-20-liter grow bag [12″ × 12″] (karela has slightly shallower roots than lauki)
- Optimal size: 25-30 liter grow bag [15″ × 12″ to 15″ × 15″] (perfect balance for terrace gardening)
- Premium option: 40-liter grow bag [18″ × 18″] for extended harvesting season
Why HDPE Grow Bags Are Best for Monsoon Growing:
Heavy-duty HDPE (High-Density Polyethylene) grow bags offer superior durability and drainage compared to lighter fabric options. During monsoon, this matters tremendously:
- HDPE bags are more resistant to mold and deterioration than many materials, but still inspect and clean them between seasons
- HDPE bags usually have drainage holes, but you must keep them clear and elevate bags so water can actually exit, this is critical
- Dark-colored HDPE bags can warm soil slightly, which may be helpful in cooler periods; however, on exposed terraces during hot monsoon, ensure bags aren’t in scorching all-day sun, or use light-colored/covered bags if root-zone heat becomes a concern
- They’re reusable for multiple seasons (typically 3–5 years depending on sun exposure and quality), making them cost-effective
While jute grow bags are eco-friendly, they can break down faster in heavy monsoon conditions. Save those for post-monsoon seasons.
Preparing the Perfect Monsoon Soil Mix for Lauki & Karela
The biggest mistake monsoon gardeners make? Using regular garden soil, which compacts and waterlogs easily. However, the ideal mix depends on your specific drainage conditions.
Standard Monsoon Soil Recipe for Grow Bags (by volume):
For most home gardeners with typical monsoon setups (use this for 20-40L bags [12″ × 12″ to 18″ × 18″]):
- 40% Coconut coir or peat moss (water retention with aeration)
- 30% Aged compost or well-rotted farmyard manure (nutrients)
- 20% Sieved garden soil (structure)
- 10% Coarse sand or perlite (drainage)
High-Rain/Poor-Drainage Adjustment (for very waterlogged areas):
If your location receives exceptionally heavy monsoon rains or you have poor outdoor drainage (recommended for 30-50L bags [15″ × 15″ to 24″ × 18″] in heavy-rain zones):
- 40% Coconut coir or peat moss
- 25% Aged compost or well-rotted FYM
- 15% Sieved garden soil
- 20-30% Coarse sand or perlite (increase drainage significantly)
Optional additions (both mixes):
- 1-2 tablespoons per bag of neem cake (natural pest deterrent)
- Handful of crushed charcoal (helps prevent fungal diseases in wet conditions)
Why These Mixes Work:
The standard mix creates a balanced medium that drains well without becoming excessively fast-draining. The coconut coir holds just enough moisture without waterlogging, while the moderate sand content ensures excess water drains without creating dry pockets. For vining plants like lauki and karela that need consistent feeding, the compost and vermicompost provide slow-release nutrients throughout the growing season.
The high-drainage variant is only needed in genuinely waterlogged situations; using it in normal conditions may require very frequent watering during dry spells.
Setting Up Sturdy Vertical Support Systems for Vining Plants
Lauki and karela are heavy vining plants. During monsoon, when wind speeds increase and plants are heavier with moisture, a flimsy trellis won’t cut it.
Best Support Structure for Monsoon Growing:
Option 1: Bamboo Teepee (Traditional & Effective)
- Use 3-4 sturdy bamboo poles (8-10 feet tall)
- Tie securely at the top with jute twine or nylon rope
- Space grow bags in a triangle formation around the base (minimum 2 feet apart for 15″-18″ bags)
- Cost-effective and easy to adjust as plants grow
Option 2: Metal Grid or Net Trellis (Most Durable)
- Install a 6×8 foot horizontal grid or net trellis (or 72″ × 96″)
- Secure it firmly to walls or metal frames
- Position grow bags at the base (18″ × 18″ or 15″ × 15″ bags work best)
- Train vines upward as they grow
- Weather-proof and lasts multiple seasons
Option 3: Wall-Mounted Vertical String System
- Attach strings or soft twine vertically from a roof structure
- Secure the bottom end to the grow bag stem (works for 12″ × 12″ to 15″ × 15″ bags)
- As plants grow, gently guide shoots up the string
- Ideal for limited terrace space
Monsoon-Specific Support Tips:
✓ Use soft cotton twine or plant clips, never tight wire that cuts stems
✓ Leave room for growth, don’t compress vines tightly to the support
✓ Secure structures to walls or use ground anchors to prevent wind damage
✓ Check ties after heavy rains to ensure they haven’t slipped
✓ Prune excess vegetative growth in July to reduce wind resistance
Watering & Drainage: The Monsoon Challenge
This is where most monsoon gardeners fail. They either overwater, drowning their plants, or underwater because they assume rain is enough.
Smart Monsoon Watering Strategy:
Days with Heavy Rain (>20mm):
- Skip manual watering entirely
- Still check soil moisture in the top 2 inches
- Ensure drainage holes are clear (no blockages)
Days with Light Rain or Dry Spells:
- Water deeply in the early morning
- Water at soil level, not leaves (reduces fungal risk)
- Check drainage by pouring water and observing how quickly it exits
Drainage Inspection Routine: Every 3-4 days during monsoon, poke a finger 2 inches into the soil. If it feels soggy and smells sour, you have a drainage issue, either relocate the grow bag to higher ground or add more sand/perlite to the top few inches.
Hand-Pollination: The Secret Weapon for Monsoon Yields
Here’s what most gardeners don’t understand: heavy monsoon rains and overcast skies drastically reduce bee activity. Without bees, lauki and karela flowers don’t set fruit, and you end up with plenty of blooms but zero harvest.
Why Hand-Pollination Matters During Monsoon:
- Bees are inactive during rain and on cloudy days
- Excessive moisture can wash pollen away from flowers
- Fruit set can drop significantly (often by half or more) when pollinators are scarce
- You can compensate by hand-pollinating consistently, which many gardeners find greatly improves overall fruit set and harvest
Identifying Male vs. Female Flowers:
Before you pollinate, you need to tell the difference.
Male Flowers (Lauki & Karela):
- Appear 10-14 days before female flowers
- Have a thin, straight stem (no bulge behind the flower)
- Produce abundant pollen
- Bloom for only one day
- Clustered in groups of 3-5
Female Flowers (Lauki & Karela):
- Have a visible fruit-like bulge (tiny gourd or karela shape) behind the petals
- Bloom for one day only
- Appear in twos or threes along the vine
- Have a sticky, receptive stigma in the center
Step-by-Step Hand-Pollination Process:
Best Time: Early morning (5-7 AM), right after flowers open
Tools Needed:
- Small soft paintbrush (size 4-6)
- Clean, dry cloth
- Optional: small container to collect pollen
The Technique:
- Collect Pollen: Gently brush the center of a fully open male flower with your brush. The brush will collect yellow pollen granules.
- Identify Ready Female Flower: Look for a female flower with a glistening, slightly wet stigma (the center part). This means it’s receptive.
- Transfer Pollen: Gently brush the pollen-loaded brush onto the female flower’s stigma, using circular motions. You don’t need much pollen, just a light dusting.
- Mark Pollinated Flowers: Tie a soft red thread or mark with a water-based marker on pollinated flowers so you don’t re-pollinate them (wastes pollen).
- Repeat: Pollinate 15-20 female flowers per plant every 2-3 days during the growing season.
Pro Tips for Successful Hand-Pollination:
✓ One male flower can pollinate 3-5 female flowers
✓ Collect pollen on days with dry mornings (skip rainy mornings)
✓ Don’t pollinate in rain or when flowers are wet, pollen won’t stick
✓ Focus on the first and second flush of flowers for best results
✓ Keep a simple notebook: “July 15 – 8 karela flowers pollinated, July 18 – 5 already setting”
✓ Some fruits will still drop naturally – this is normal (5-10% loss is acceptable)
Expected Results with Hand-Pollination:
With consistent hand-pollination during monsoon, under good growing conditions:
- A significant portion of pollinated flowers will develop into mature fruits (success rates vary widely based on plant health, nutrients, and environmental stress, but many gardeners see noticeable improvement)
- Most gardeners report a noticeable increase in fruit set and harvest compared to relying entirely on natural pollinators
- Fruits tend to be more uniform when pollination is consistent
- Extended harvesting season is possible (plants can produce for 12-16 weeks with proper care)
Note: Results depend heavily on overall plant health, nutrient availability, and environmental conditions. Beginners may see more modest gains; don’t be discouraged if results take a season or two to optimize.
Preventing Root Rot & Fungal Diseases in Monsoon
Root rot is the #1 killer of monsoon grow bag gardens. Here’s how to prevent it.
Early Warning Signs:
- Yellowing leaves that don’t respond to fertilizer
- Soft, mushy stems near soil level
- Foul smell from the grow bag
- Wilting despite wet soil
Prevention Strategy:
1. Perfect Drainage (Already Covered Above)
- Use the sandy, perlite-rich soil mix
- Never use waterlogged outdoor soil
- Inspect drainage daily
2. Air Circulation:
- Space grow bags at least 2 feet apart
- Ensure wind flow between bags
- Prune lower leaves (first 1-2 feet of vine) to allow air under the canopy
3. Fungal Disease Prevention:
- Spray neem oil solution once every 10 days (monsoon schedule, as rain washes off sprays faster)
- Prioritize cultural controls: ensure good air circulation, remove diseased leaves immediately, and water only soil, never wet the leaves
- For severe fungal cases (extensive white mold), sulfur or other fungicides can be used, but test on a few leaves first, follow label instructions carefully, and avoid application in very hot midday sun (can burn leaves in humid conditions)
- Remove diseased leaves immediately, don’t let them touch soil
- Water only soil, never leaves
4. Weekly Inspection:
- Check stems near soil level for soft spots
- Look under leaves for early fungal spots
- Pinch off any diseased growth immediately
Nutrient Management for Heavy-Feeding Vining Plants
Lauki and karela are nitrogen-hungry during the vegetative phase, then shift to phosphorus and potassium during flowering and fruiting.
Feeding Schedule for Monsoon Growing:
Weeks 1-4 (June-early July – Vegetative Growth):
- Apply liquid fish emulsion or seaweed extract every 7-10 days
- High nitrogen promotes leaf and vine development
- Dose: Follow product instructions (usually 5-10ml per liter of water)
Weeks 5-8 (Mid-July to August – Flowering & Fruiting):
- Switch to a balanced fertilizer (NPK 19:19:19 or similar) or organic options like banana peel water
- Apply every 10-14 days following label instructions carefully
- Balanced nutrition or slightly elevated phosphorus promotes flower and fruit set without risking nutrient imbalances in small containers
- For experienced growers using measured fertigation, professional higher-phosphorus formulas (NPK 10:52:10) are an option, but most home gardeners should stick to balanced or organic feeds to avoid overfeeding.
Weeks 9+ (September Onward – Continued Production):
- Alternate between potassium-rich (banana peel tea) and balanced feeds
- Potassium improves fruit quality and disease resistance
- Continue every 10-14 days
Organic Fertilizer Options:
- Vermicompost tea (brew 1 cup vermicompost in 5 liters water for 24 hours, strain, dilute 1:1 with water)
- Banana peel water (soak 2-3 peels in 1 liter water for 3 days)
- Neem-based organic fertilizer
- Seaweed extract (if available locally)
Managing Common Monsoon Pests & Insects
Fruit Flies & Beetles:
- Install sticky yellow traps near growing areas
- Prune damaged fruits immediately
- Neem oil spray every 10 days
Mites (in later monsoon months):
- Increase air circulation
- Spray sulfur-based fungicide at first sign
- Remove heavily infested leaves
Squash Bugs:
- Check undersides of leaves daily
- Handpick bugs and egg clusters
- Neem oil spray effective for young bugs
Harvesting Lauki & Karela from Grow Bags
When to Harvest Bottle Gourd (Lauki):
- Pick when 12-18 inches long and skin is still tender (light green)
- Mature lauki becomes too fibrous for cooking
- Harvest every 2-3 days during peak season
- Use a sharp knife to avoid damaging the vine
When to Harvest Bitter Gourd (Karela):
- Pick when 5-7 inches long, before turning yellow
- Immature karela is more tender and less bitter
- Harvest every 1-2 days during fruiting season
- Regular harvesting encourages more flowering
Pro Tip: Harvesting regularly tricks the plant into producing more flowers, extending your season into October and beyond.
Frequently Asked Questions About Growing Lauki & Karela in Monsoon
Q: Can I grow lauki and karela in the same grow bag?
A: Not recommended. They have different watering and nutrient needs. Use separate bags for best results.
Q: What’s the minimum space needed on a terrace?
A: 6 grow bags of 30 liters each [15″ × 15″] = approximately 4×4 feet (48″ × 48″) of terrace space with trellis support.
Q: How many lauki or karela plants can I grow in one 30-liter bag?
A: For most gardeners, one plant per 30–40L bag [15″ × 15″ to 18″ × 18″] is ideal. These are vigorous growers and need dedicated space. In very large bags (50L+ [24″ × 18″]), experienced growers sometimes successfully train two plants with heavy pruning, but this is advanced and requires careful management.
Q: Does hand-pollination work for lauki too, or just karela?
A: Both! Lauki also benefits significantly from hand-pollination during monsoon.
Q: My plants look healthy but aren’t flowering. Why?
A: Possible causes: insufficient light (provide 6+ hours), over-fertilization with nitrogen, or plants still in vegetative growth phase. Karela typically flowers 40-50 days after planting; lauki takes 45-60 days.
Q: Can I reuse my grow bags next season?
A: Yes! Rinse thoroughly with water and air dry in the sun. For disinfection, sun-drying is often sufficient; if needed, use a light bleach rinse (1:20 dilution or as per product guidance) or hydrogen peroxide, test on a small area first, and follow product instructions carefully. Premium HDPE bags (15″ × 15″, 18″ × 18″, 24″ × 18″ sizes) typically last 3–5 years depending on sun exposure and quality.
Final Thoughts: Monsoon Gardening Success
Growing lauki and karela in grow bags during monsoon isn’t just possible, it’s one of the most rewarding seasons for home gardeners and terrace farmers. The key is understanding that you’re not fighting the rain; you’re working with it. Perfect drainage, sturdy support systems, consistent hand-pollination, and proactive pest management create the foundation for an abundant harvest.
Start small with 2-3 plants, master the techniques, and expand next monsoon. Your homegrown bottle gourd and bitter gourd will taste infinitely better than store-bought, and you’ll have the satisfaction of growing nutrient-rich vegetables in the heart of the rainy season.
Ready to start your monsoon grow bag garden? GrowBags.in provides premium 30-40 liter HDPE grow bags, free growing guidance with every order, and fast delivery to 29,000+ pincodes across India. Order your grow bags today and join thousands of successful terrace gardeners!
Happy monsoon gardening! 🌱🥒
